
Here’s how to create a Hugo blog using hugo-theme-bootstrap for rendering, GitHub for storage, and Cloudflare Pages for deployment.
Create GitHub repository
If you do not already have a GitHub account, sign up for one now.

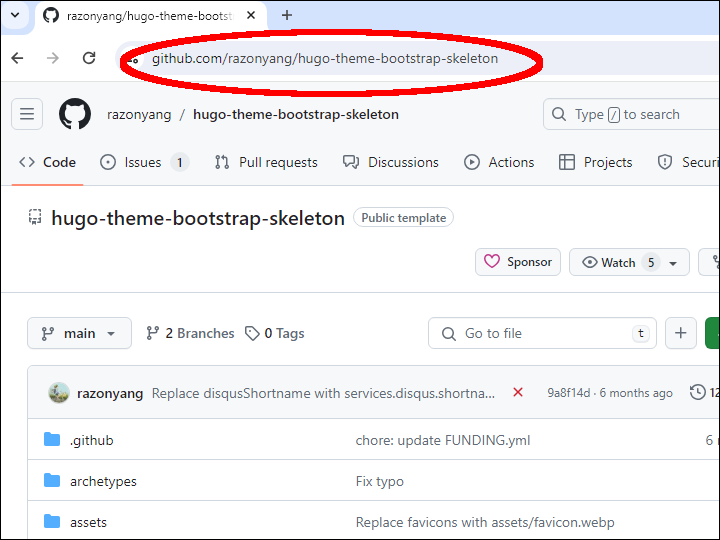
In a browser, visit the page https://github.com/razonyang/hugo-theme-bootstrap-skeleton.
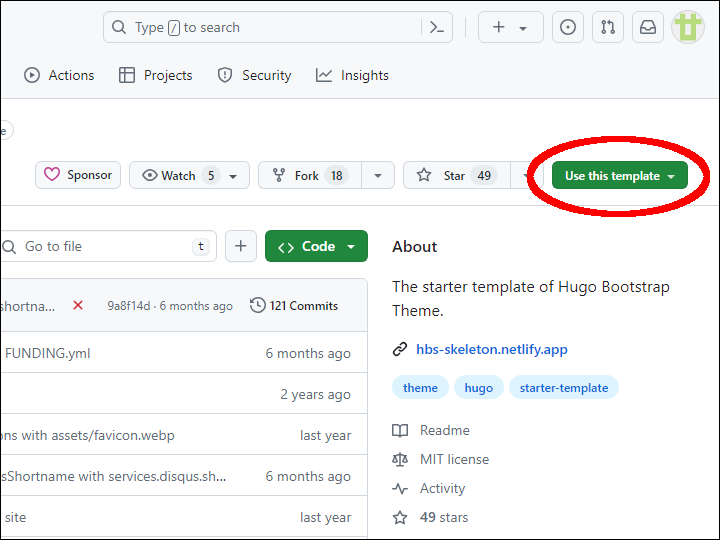
Click the Use this template button.
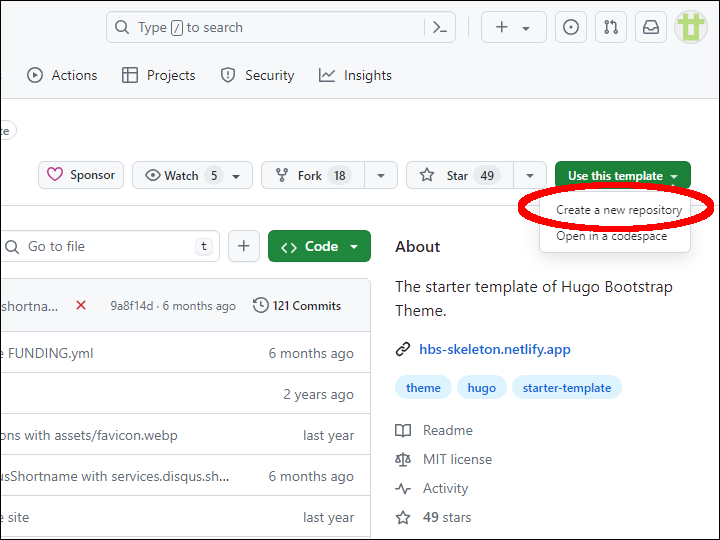
Select Create a new repository.
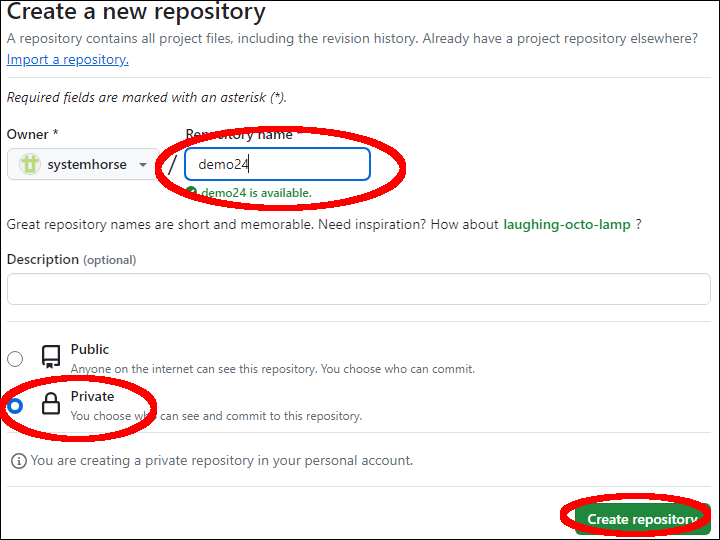
Type a unique name. Select public or private, as you prefer. Click Create repository.
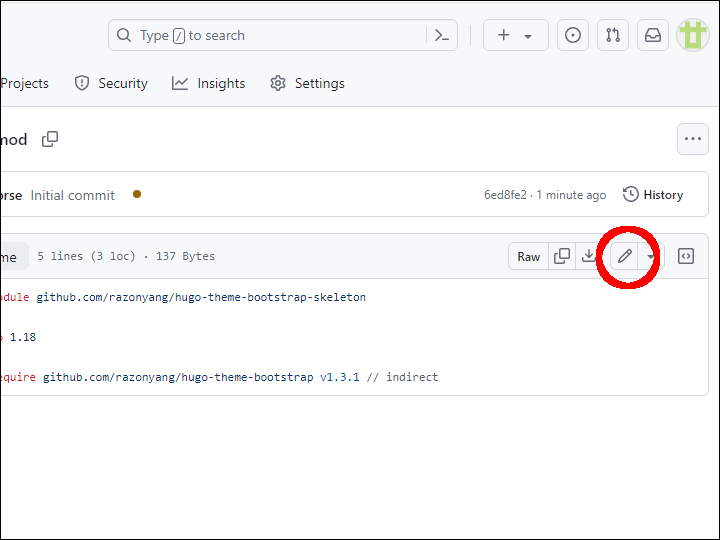
In your new repository, edit go.mod.
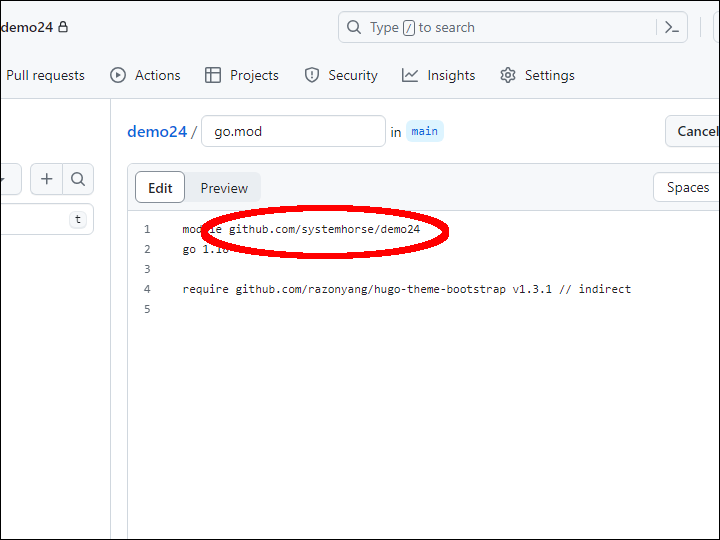
Replace the line:
module github.com/razonyang/hugo-theme-bootstrap-skeleton
with your repository, for example:
module github.com/systemhorse/demo24
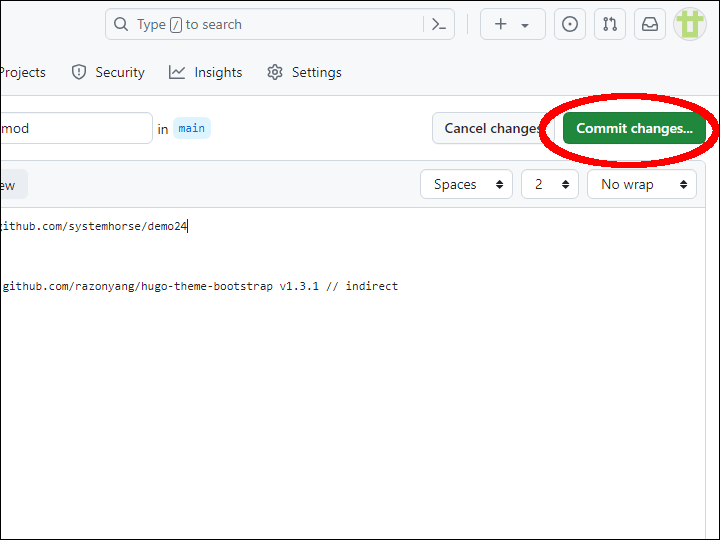
Click Commit changes…
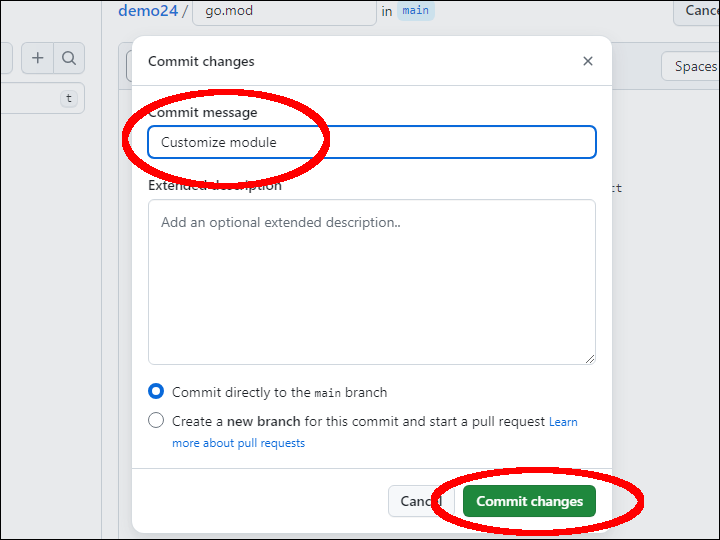
Type a commit message, then click Commit changes.
Deploy to Cloudflare
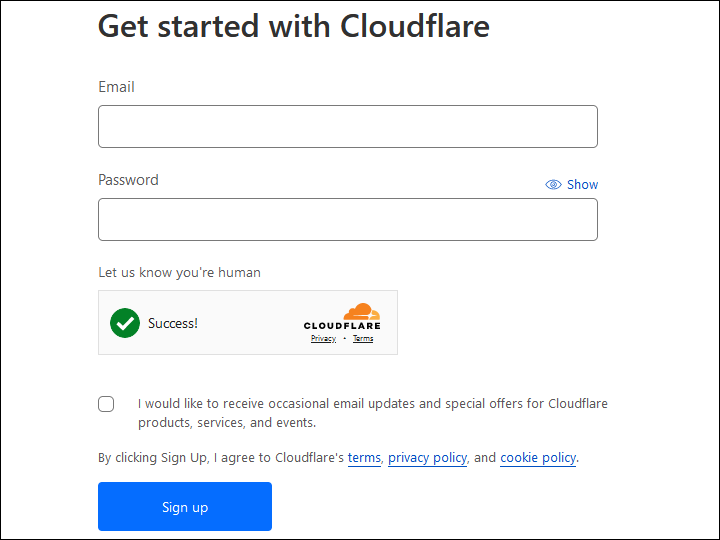
If you do not already have one, create a Cloudflare account at https://dash.cloudflare.com/sign-up
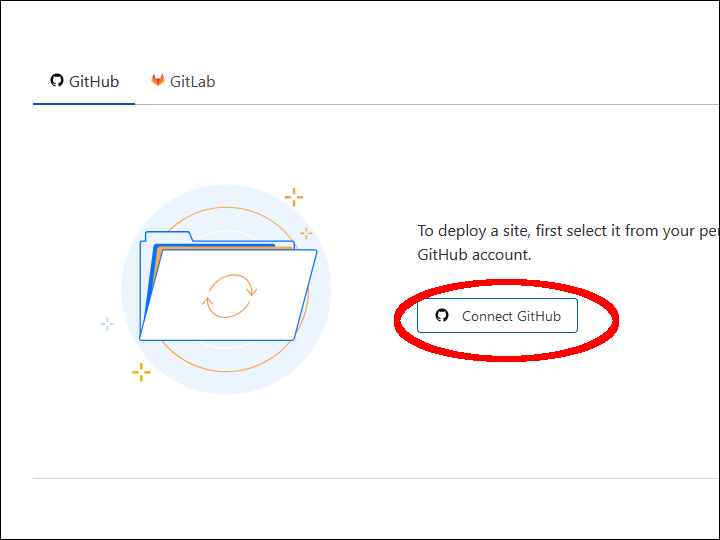
Select Workers & Pages > Pages > Connect to Git.

Click Connect GitHub.
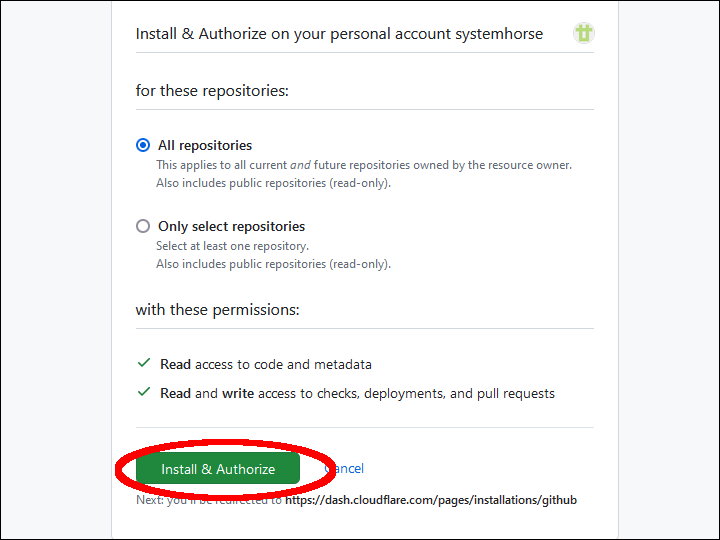
Click Install & Authorize.
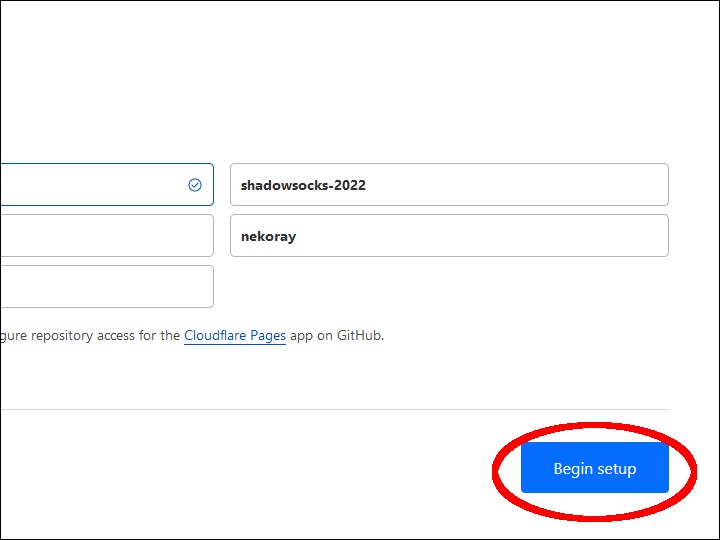
Select the new GitHub repository that you created a moment ago, and click Begin setup.
On the Set up builds and deployments screen, provide the following information:
- Production branch
main - Framework preset
Hugo - Build command
hugo - Build directory
public
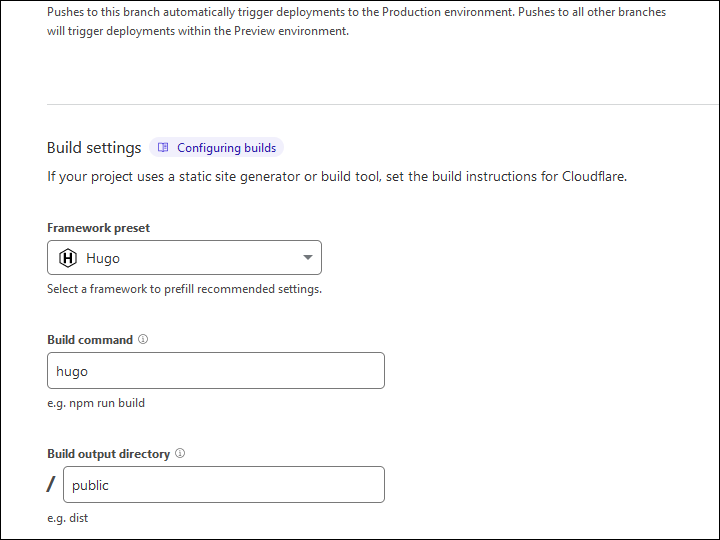
Click Save and Deploy.

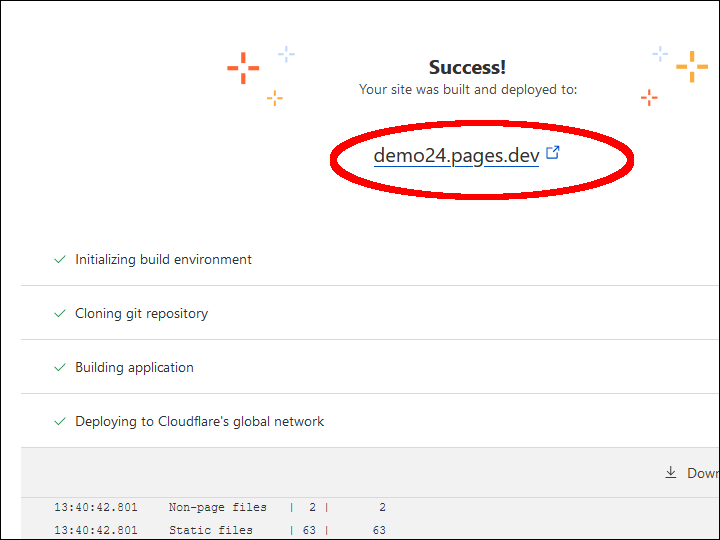
You will see Cloudflare Pages building your site. After Cloudflare Pages has deployed your site, it will display your unique subdomain *.pages.dev.
Edit config/_default/config.yaml and insert your Cloudflare baseURL.

When you commit the change in GitHub, it will automatically trigger a new deployment in Cloudflare Pages.


Comments